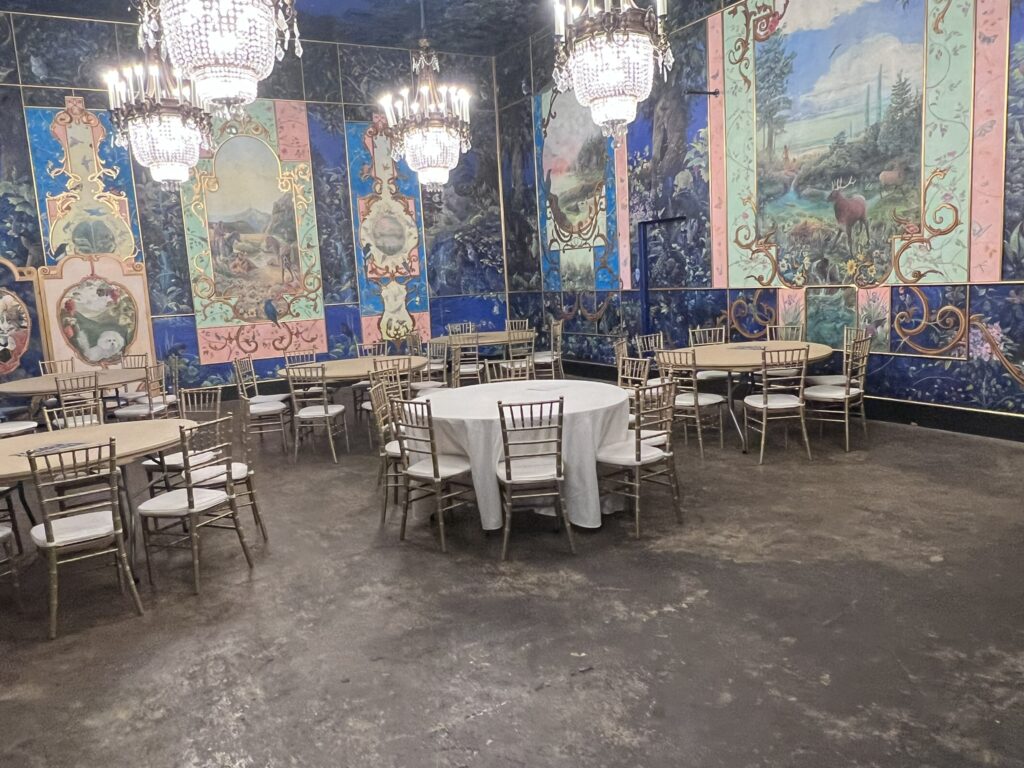
I’m getting married at a really pretty venue in Seattle called the Ruins. It looks like this inside:
I wanted to make my own invitations. And I also wanted to learn to use the laser cutter at our local makerspace. I thought an invitation replicating the inside of the Ruins would be nice, and making chandeliers using pop-up mechanics seemed like a job the laser cutter would be perfect for – I have a Cricut, but it can’t do detail that fine!
I started with some test cuts to see how small the laser cutter could go, and then cut some different chandeliers to see how they would look.
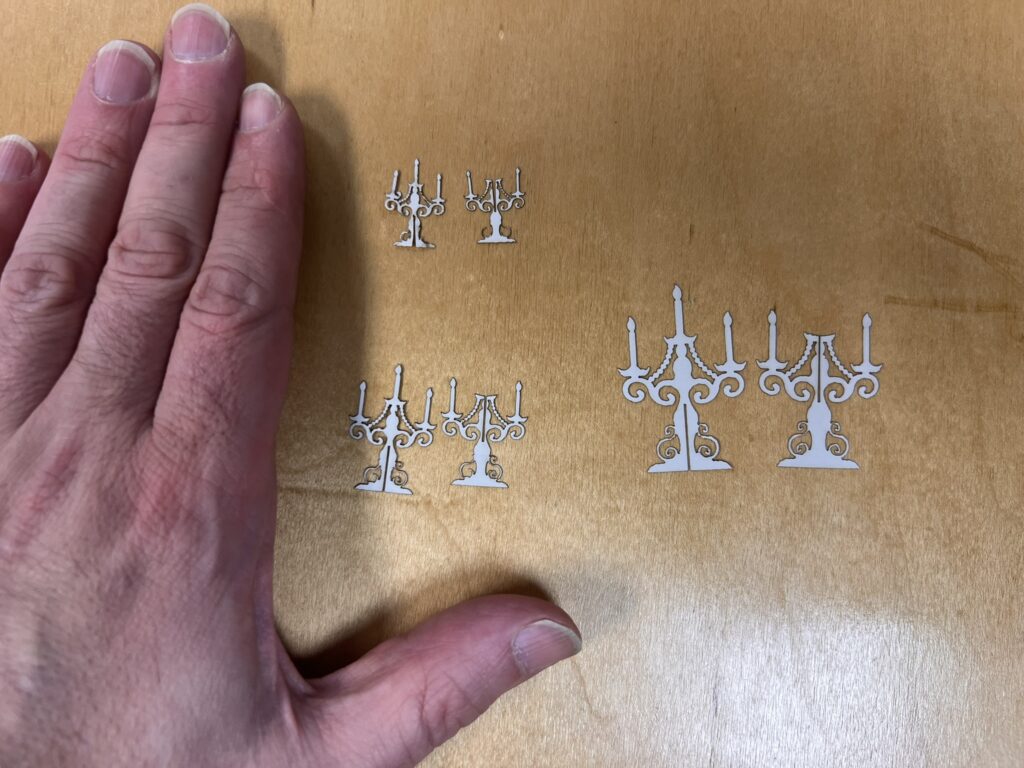
MAN that laser cutter gets some crazy great tiny details!
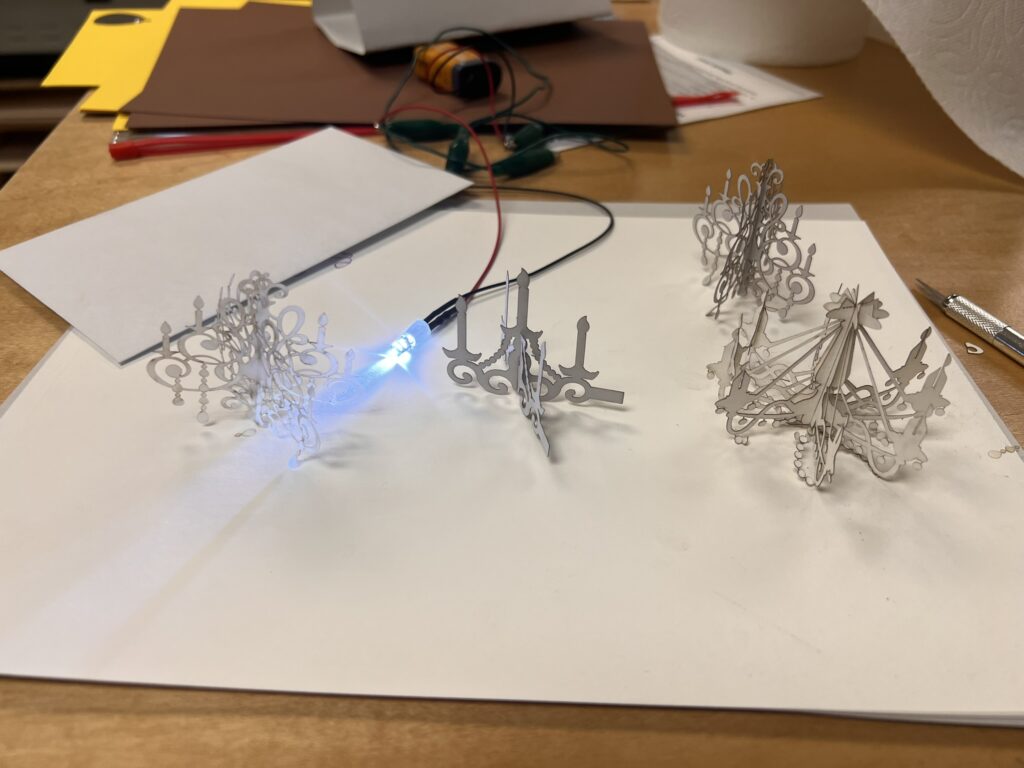
Some of the different designs I tried for the chandeliers. I was thinking of adding an LED to light them up but it just didn’t really add much when I tried it.
I wanted the chandelier to open and close with the card but couldn’t really find an existing mechanic that would do this.
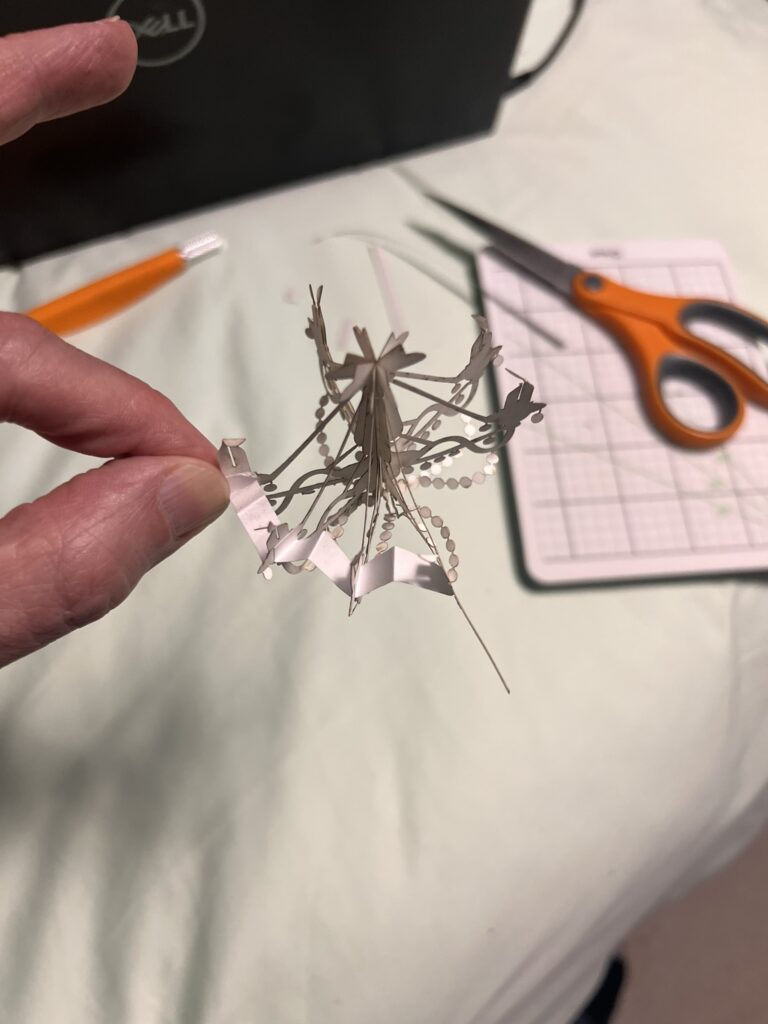
I started by trying to attach the back sides of the chandelier. I added strips connecting four sides and tabs to the outside two. The plan was to have the tabs attached to the card. When you opened the card it would pull the sides open, and the strips would make sure everything spaced itself out. This worked, but assembly was a PAIN and I couldn’t see myself doing this for lots of invitations.
What I ended up doing is putting a tab on each of the four inner sides and cutting four matching slots for them. The outer two tabs are glued and can’t move, but the inner two slide in and out of the tabs when you open the card.
So now onto the card itself!
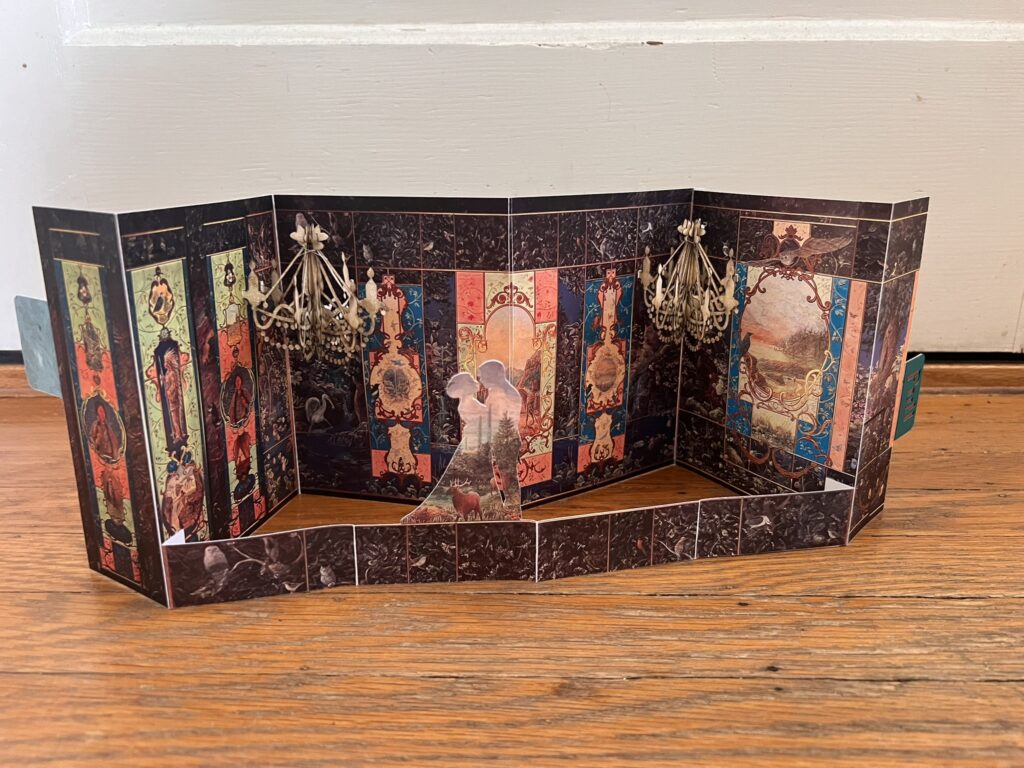
I took pictures of the walls at the Ruins. I photoshopped them to fix the perspective and to stitch them together. I used the print and cut feature on the Cricut to print them as a back and each side – or I tried to. The print and cut on the Cricut is NOT great. I used this as an excuse to upgrade to a Siser Juliet and OH MY GOD I LOVE IT.
The chandeliers rely on the card not being fully opened, but everyone would naturally fully open the card. So I put a strap across the bottom front to control how fully opened the card would be, and added a couple to it because I really liked how that looked. I figured the couple would move forward as you opened the card.
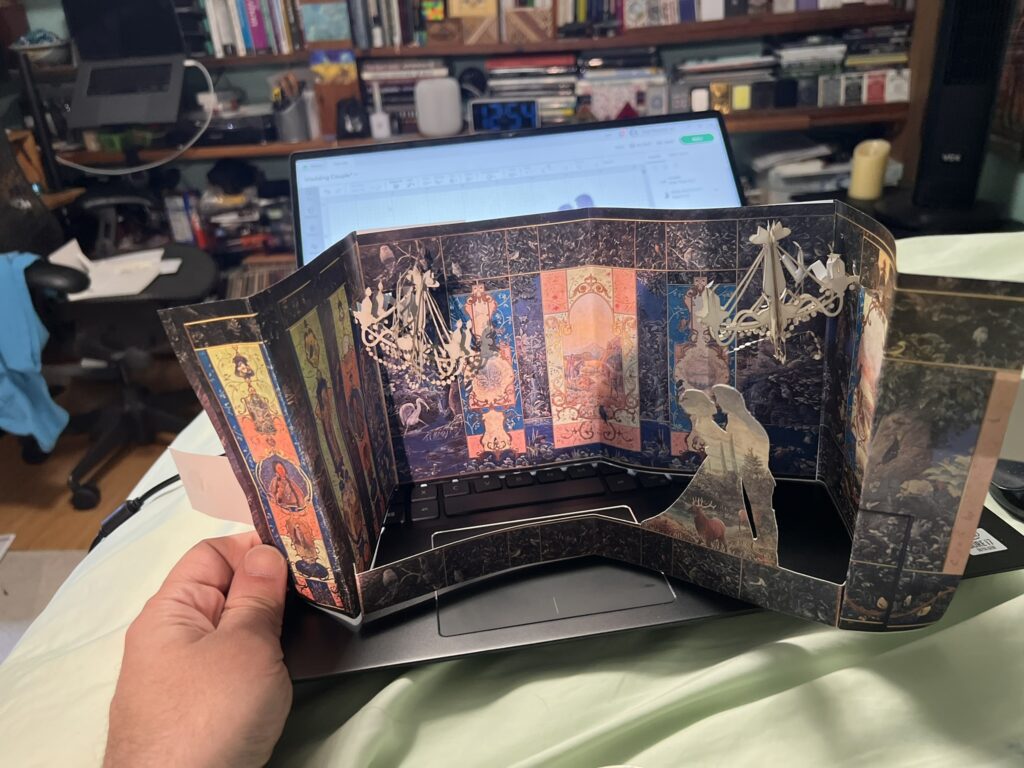
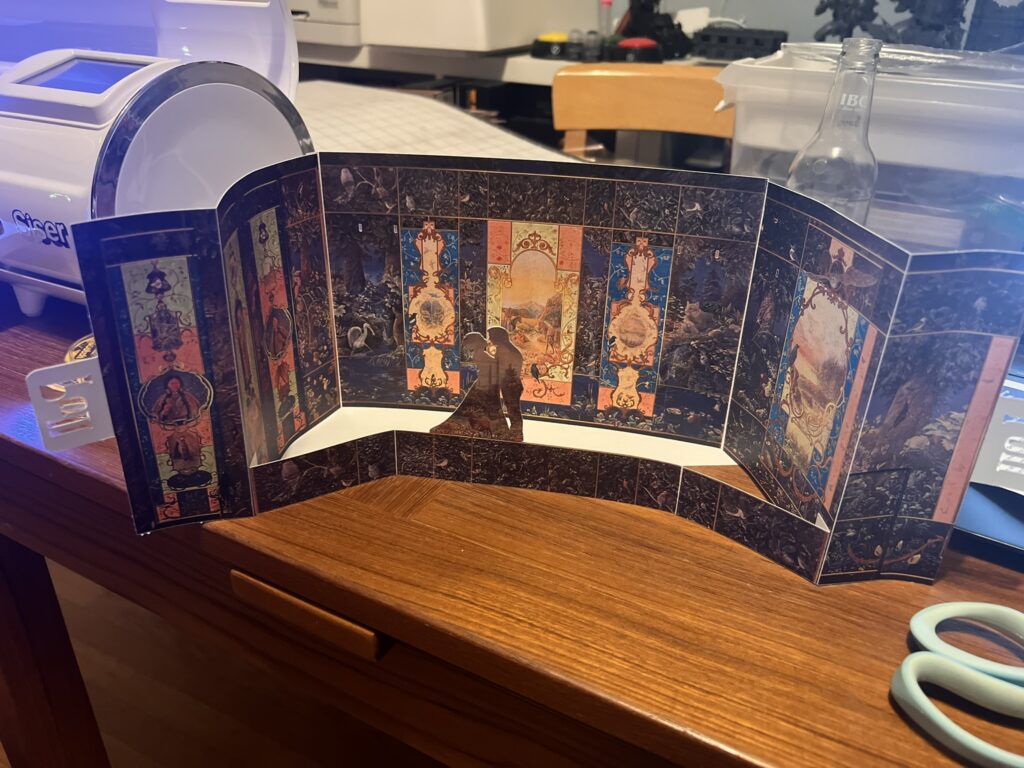
This was just a test to see how everything was fitting together.
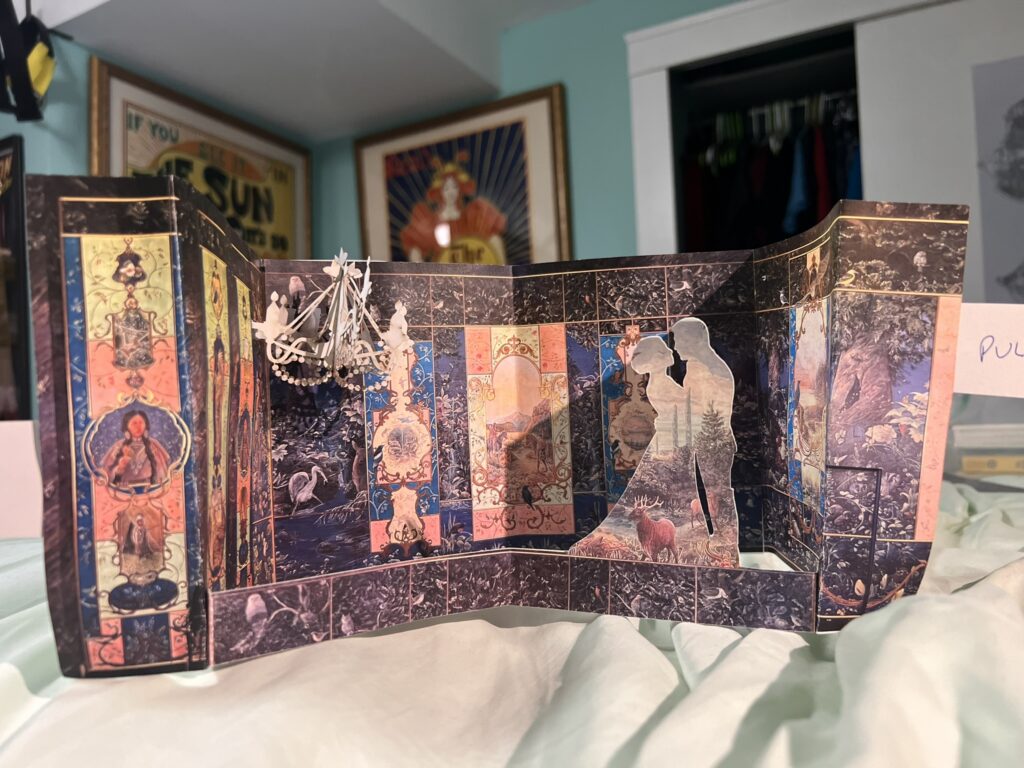
I started with the couple to the side as you can see above, but they then took up the same space as the chandelier and they tangled up. So I moved them to the center.
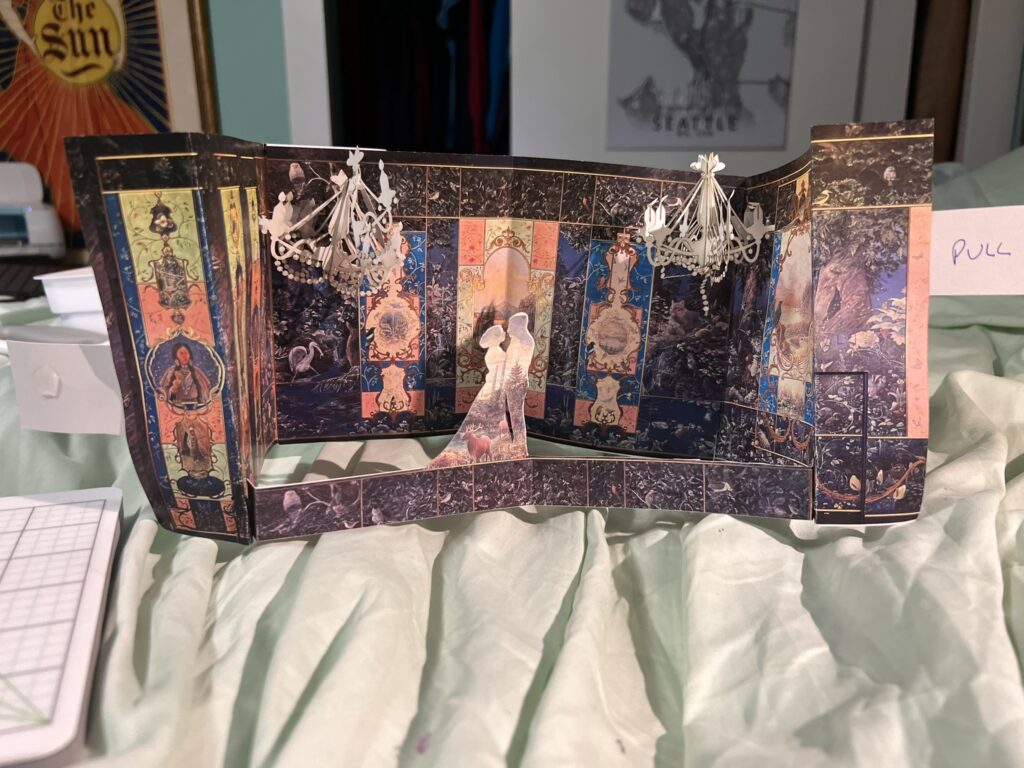
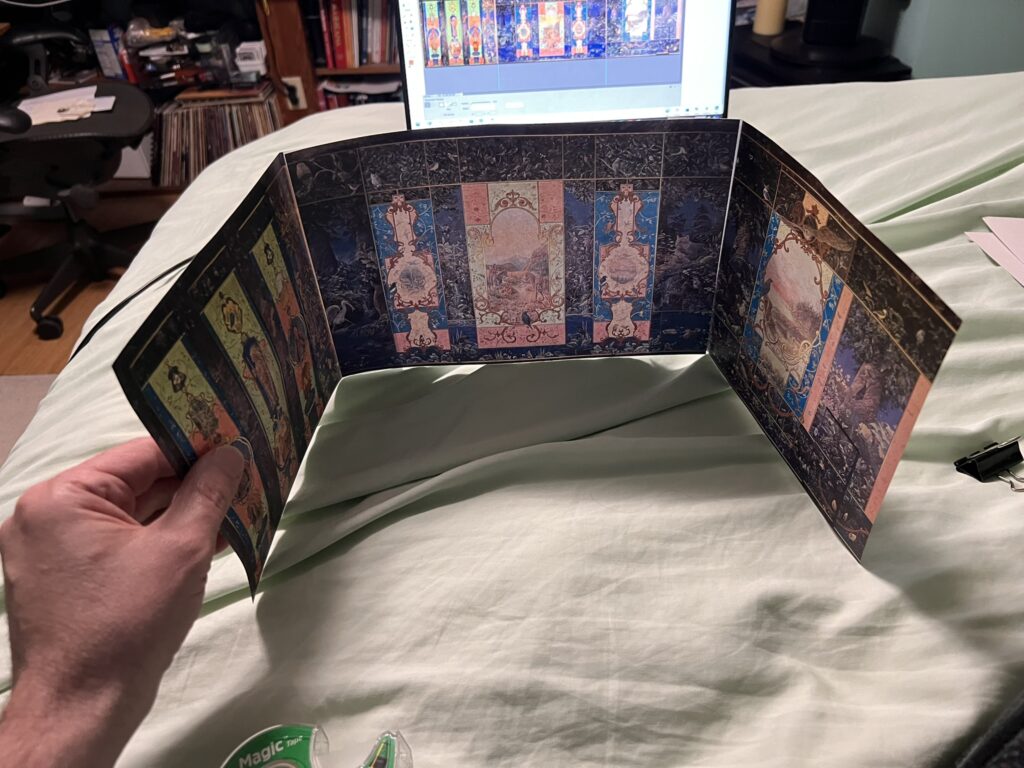
That is around when I realized that the card needed to open wider. This is 90 degrees, and looking at the chandeliers I figured halfway between 90 and fully open was best, so I made a 135 degree angle on a piece of paper, opened the sides to match that drawing, and measured out what the updated strap size would be.
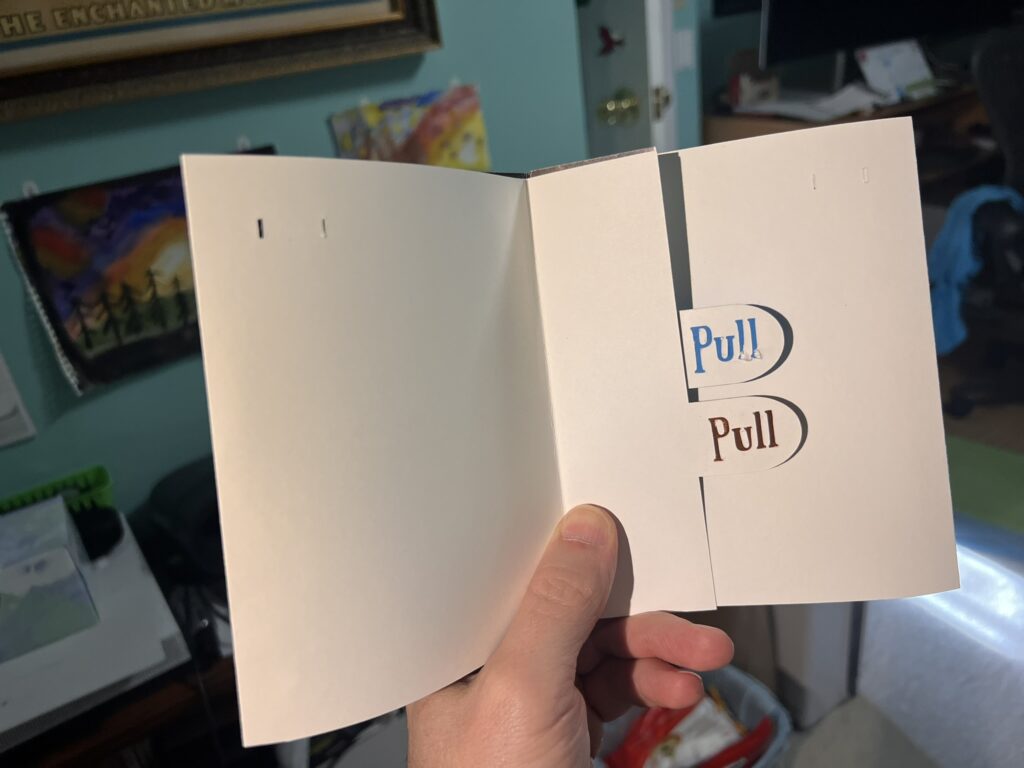
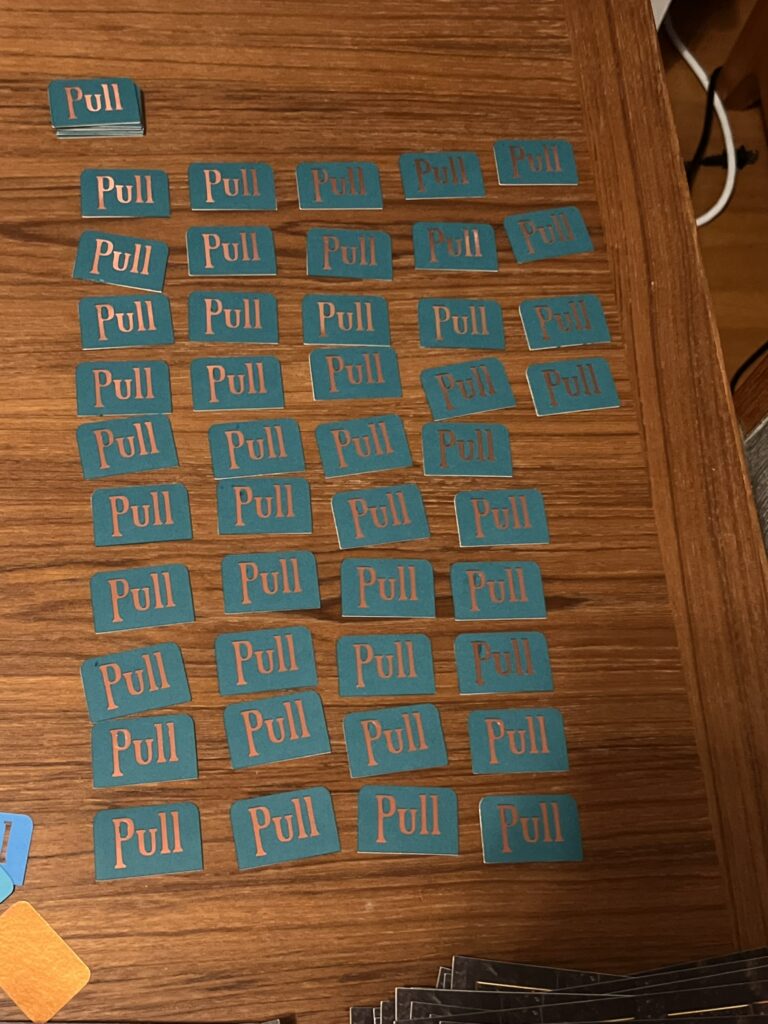
I then made the card again, adding pull tabs this time.
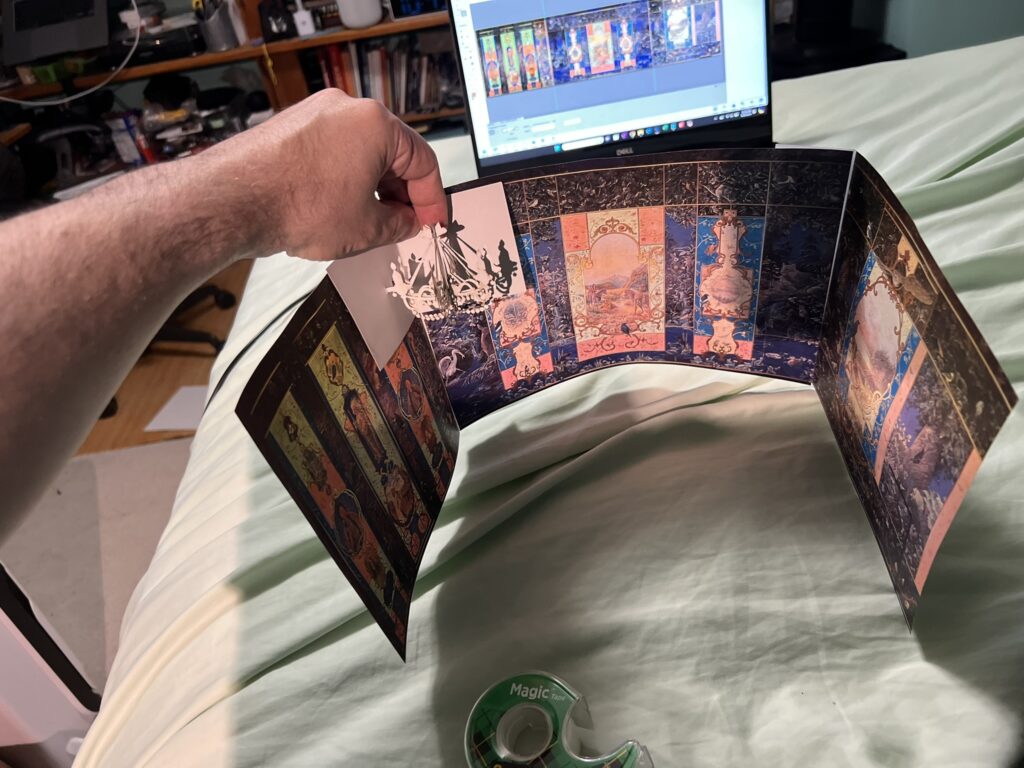
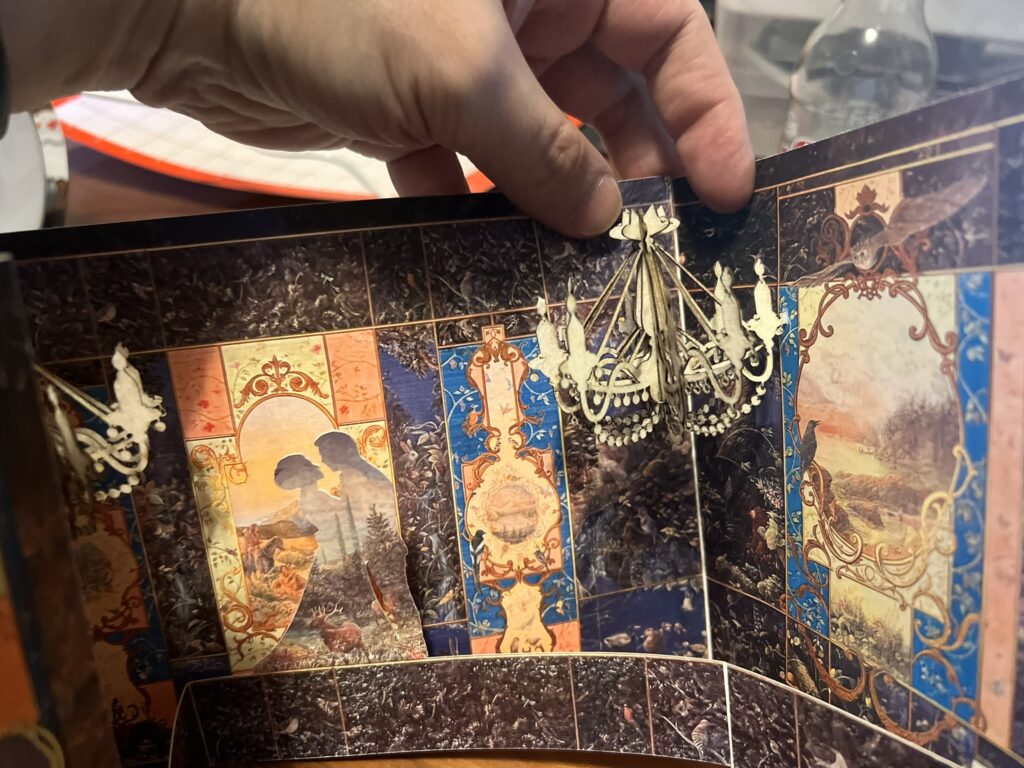
Then I added the chandelier and CATASTROPHE!

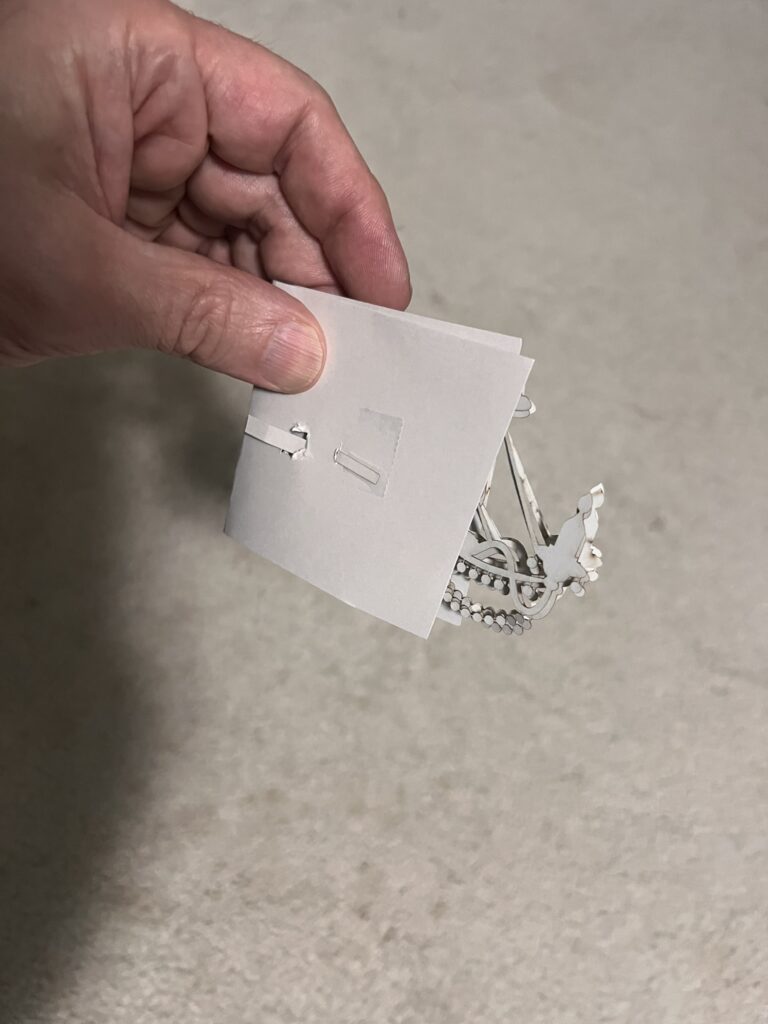
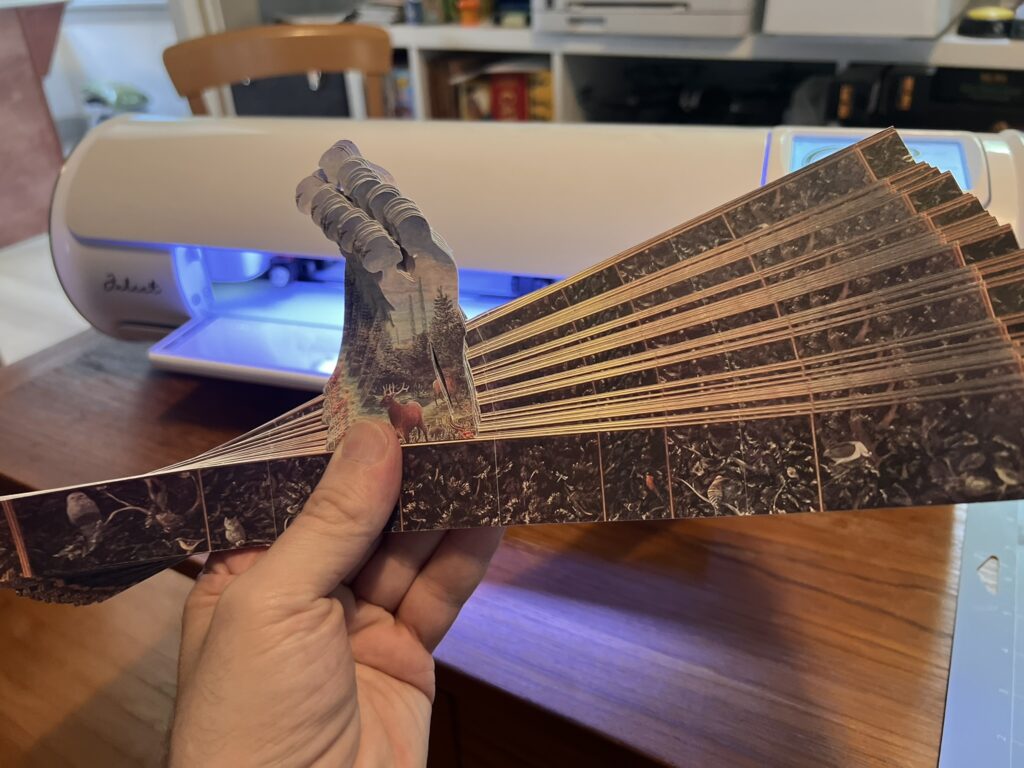
The top of the chandelier was sliding around a bit and didn’t stay fixed in place. So I tied a loop of thread around it, and that fixed that! I thought. But no!
Look at the bottom of the chandelier – it is separating. And that left me stuck for a bit, until I realized I could tie a second loop of thread in there to hold it all together.
But up until now I had designed everything to be assembled in bulk – this added a painful manual step.
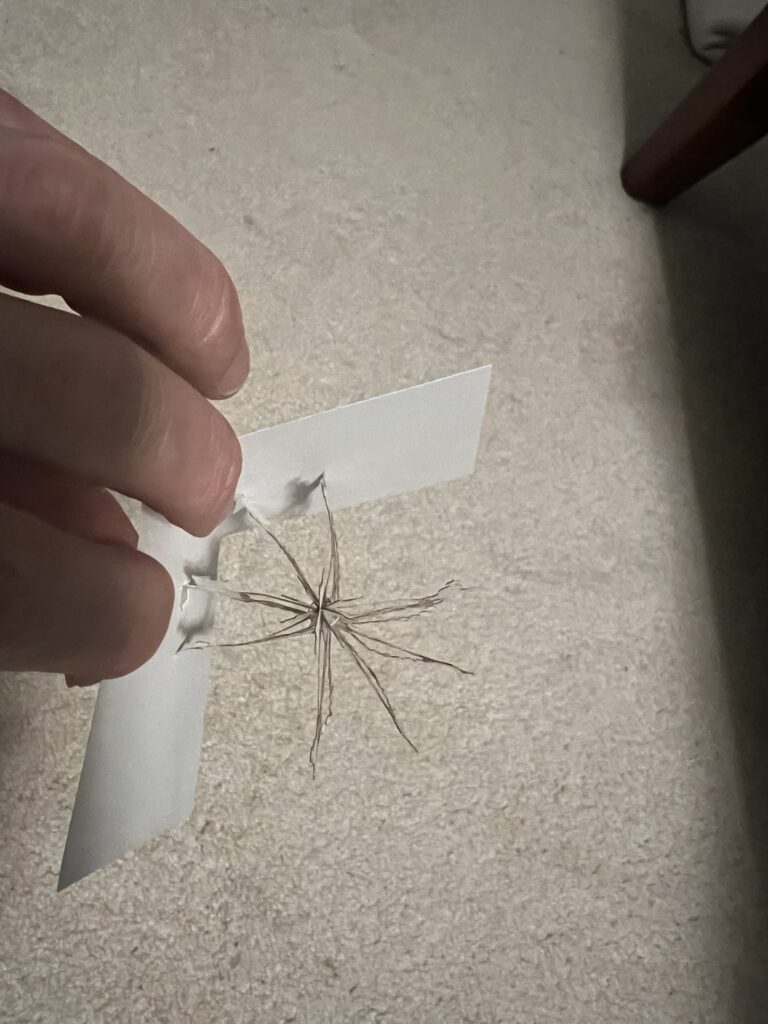
I got a curved needle, that helped tie the bottom loop. And then I just sighed and got good at tying tiny knots in little loops of thread!
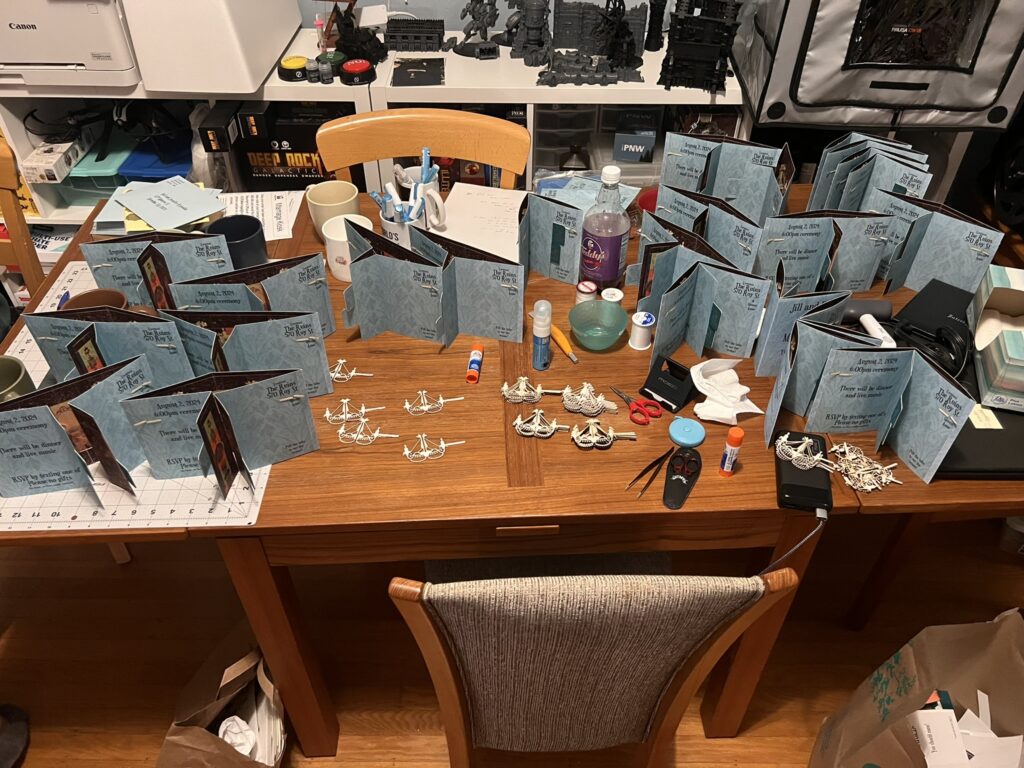
And after that … I started making a lot of these!
And that is pretty much it!